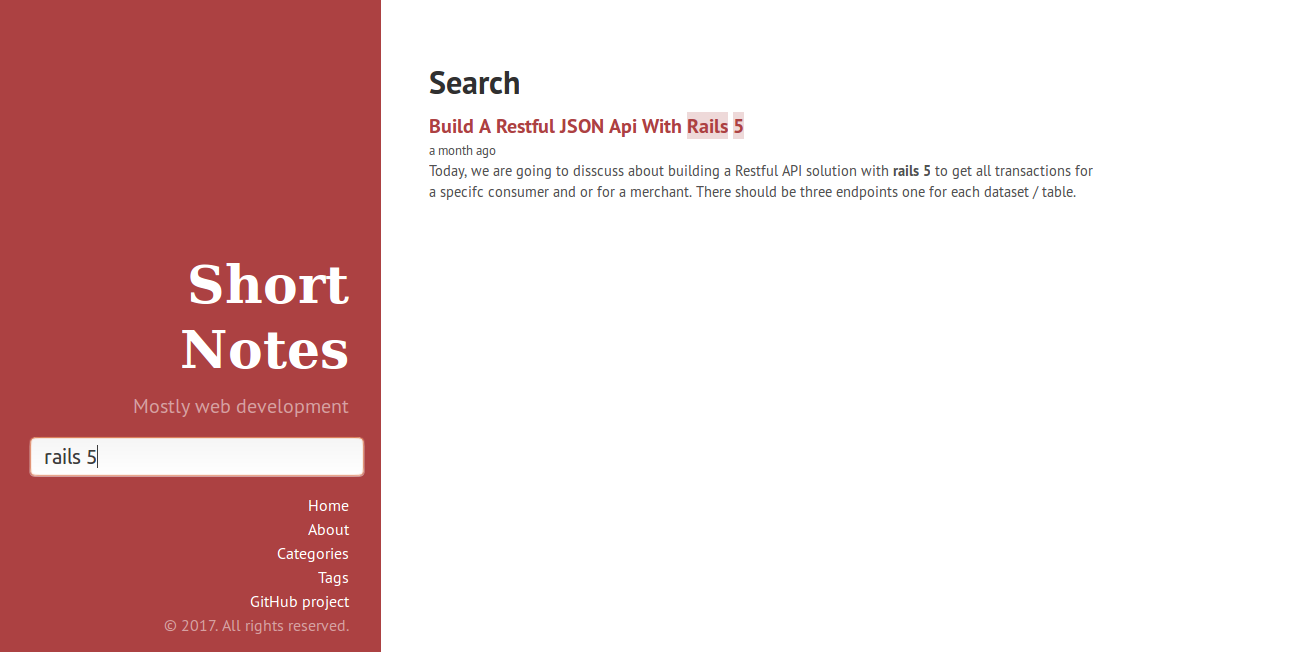
Algolia search for Jekyll
Algolia is the most reliable platform for building search into your business.
Algolia Jekyll Plugin
Jekyll plugin to automatically index your Jekyll posts and pages into an Algolia index by simply running jekyll algolia push.
Installation - [Setup Algolia]
- Sign up for an Algolia account.
- Create a new index for your Jekyll site
- Go to API Keys and take note of your Application ID, Search-Only API Key and Admin API Key
- Add
algoliasearch-jekyllto the jekyll_plugins group in your Gemfile:
group :jekyll_plugins do
  gem 'algoliasearch-jekyll'
end- Run
bundle install - Add your algolia Application ID and index name to
_config.yml:
# Algolia configuration
algolia:
  application_id: 'RVEDS43WIH'
  index_name: 'short_notes'
  read_only_api_key: 'caxxxxxxxxxxxxxxxxxxxxxxxxxxxxdb'
  excluded_files:
    - 404.html
    - index.html
Configuration#
Refer this code commit to understand how to implement algolia search in your Jekyll application,
Usage
To generate an index and push it to Algolia you can use the push command.
bundle exec jekyll algolia push
- Set your key as an environment variable
ALGOLIA_API_KEYor in a file called_algolia_api_key. If you use the file method make sure it’s not checked into a public repository otherwise anyone could add content to your search. For the environment variable you can simply prefix the command with it, for example:
ALGOLIA_API_KEY='YOUR KEY' bundle exec jekyll algolia push

Here ALGOLIA_API_KEY is Admin API Key in order to generate and push indices.
Following is the screen-shot of pushed indices at Algolia,
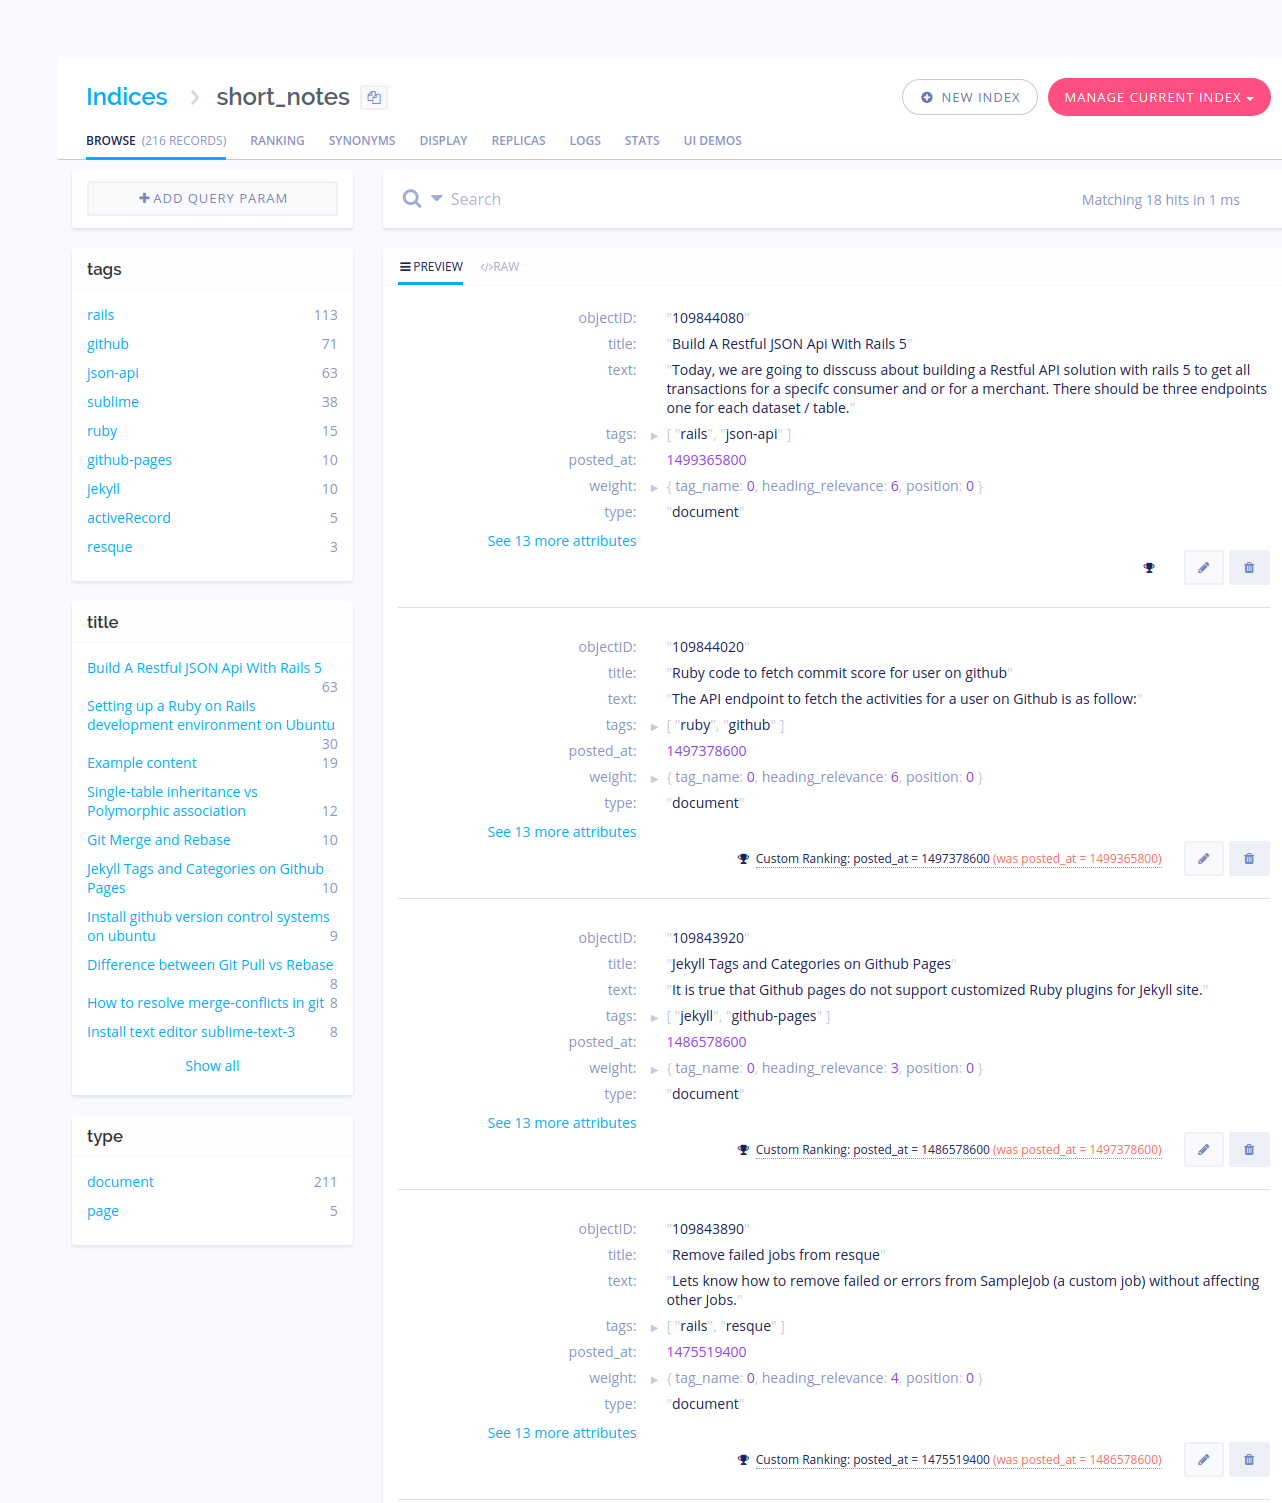
Note that your API key should have write access to both the index_name and _tmp suffixed version of it (eg. your_index_name and your_index_name_tmp) in the previous example). This is due to the way we do atomic pushes by pushing to a temporary index and then renaming it. The easiest way is to create a key with access to in the index_name* index (note the * suffix).
GitHub Pages
GitHub does not allow custom plugins to be run on GitHub Pages. This means that you’ll either have to run bundle exec jekyll algolia push manually, or configure TravisCI to do it for you.
Travis CI is an hosted continuous integration service,
For it to work, you’ll have 3 steps to perform.
- Create a .travis.yml file
Create a file named .travis.yml at the root of your project, with the following content:
language: ruby
cache: bundler
branches:
  only:
    - master
script:
  - bundle exec jekyll algolia push
rvm:
 - 2.2
This file will be read by Travis and instruct it to fetch all dependencies defined in the Gemfile, then run jekyll algolia push. This will only be triggered when data is pushed to the gh-pages branch.
- Update your _config.yml file to exclude vendor
Travis will download all you Gemfile dependencies into a directory named vendor. You have to tell Jekyll to ignore this directory, otherwise Jekyll will try to parse it (and fail).
Doing so is easy, just add the following line to your _config.yml file:
exclude: [vendor]
- Configure Travis
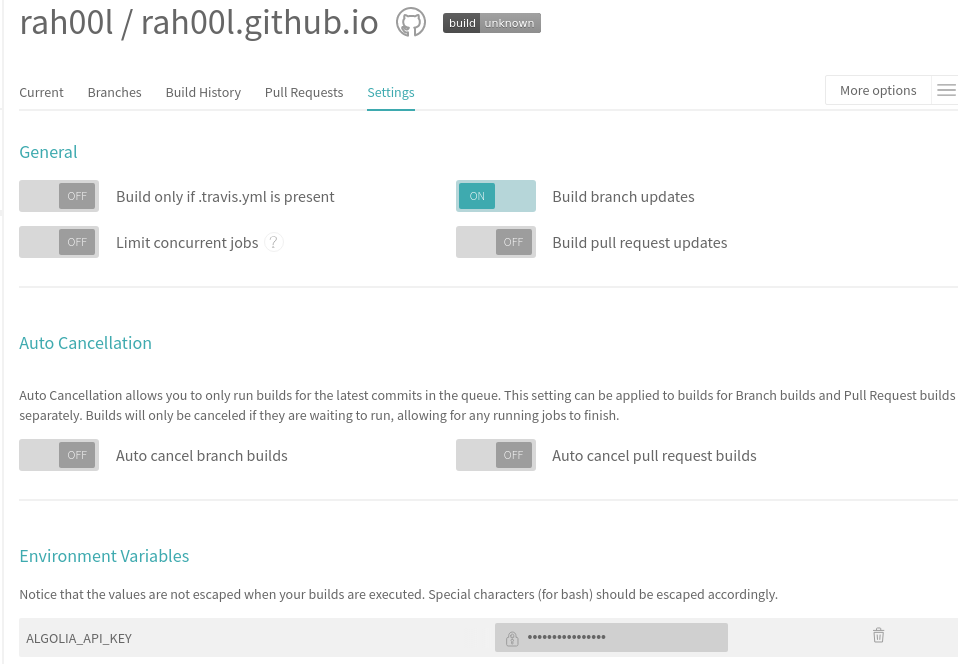
In order for Travis to be able to push data to your index on your behalf, you have to give it your write API Key. This is achieved by defining an ALGOLIA_API_KEY environment variable in Travis settings.
Sign in Travis CI in order to set environment variable,
You should also uncheck the "Build pull requests" option, otherwise any pull request targeting master will trigger the reindexing.
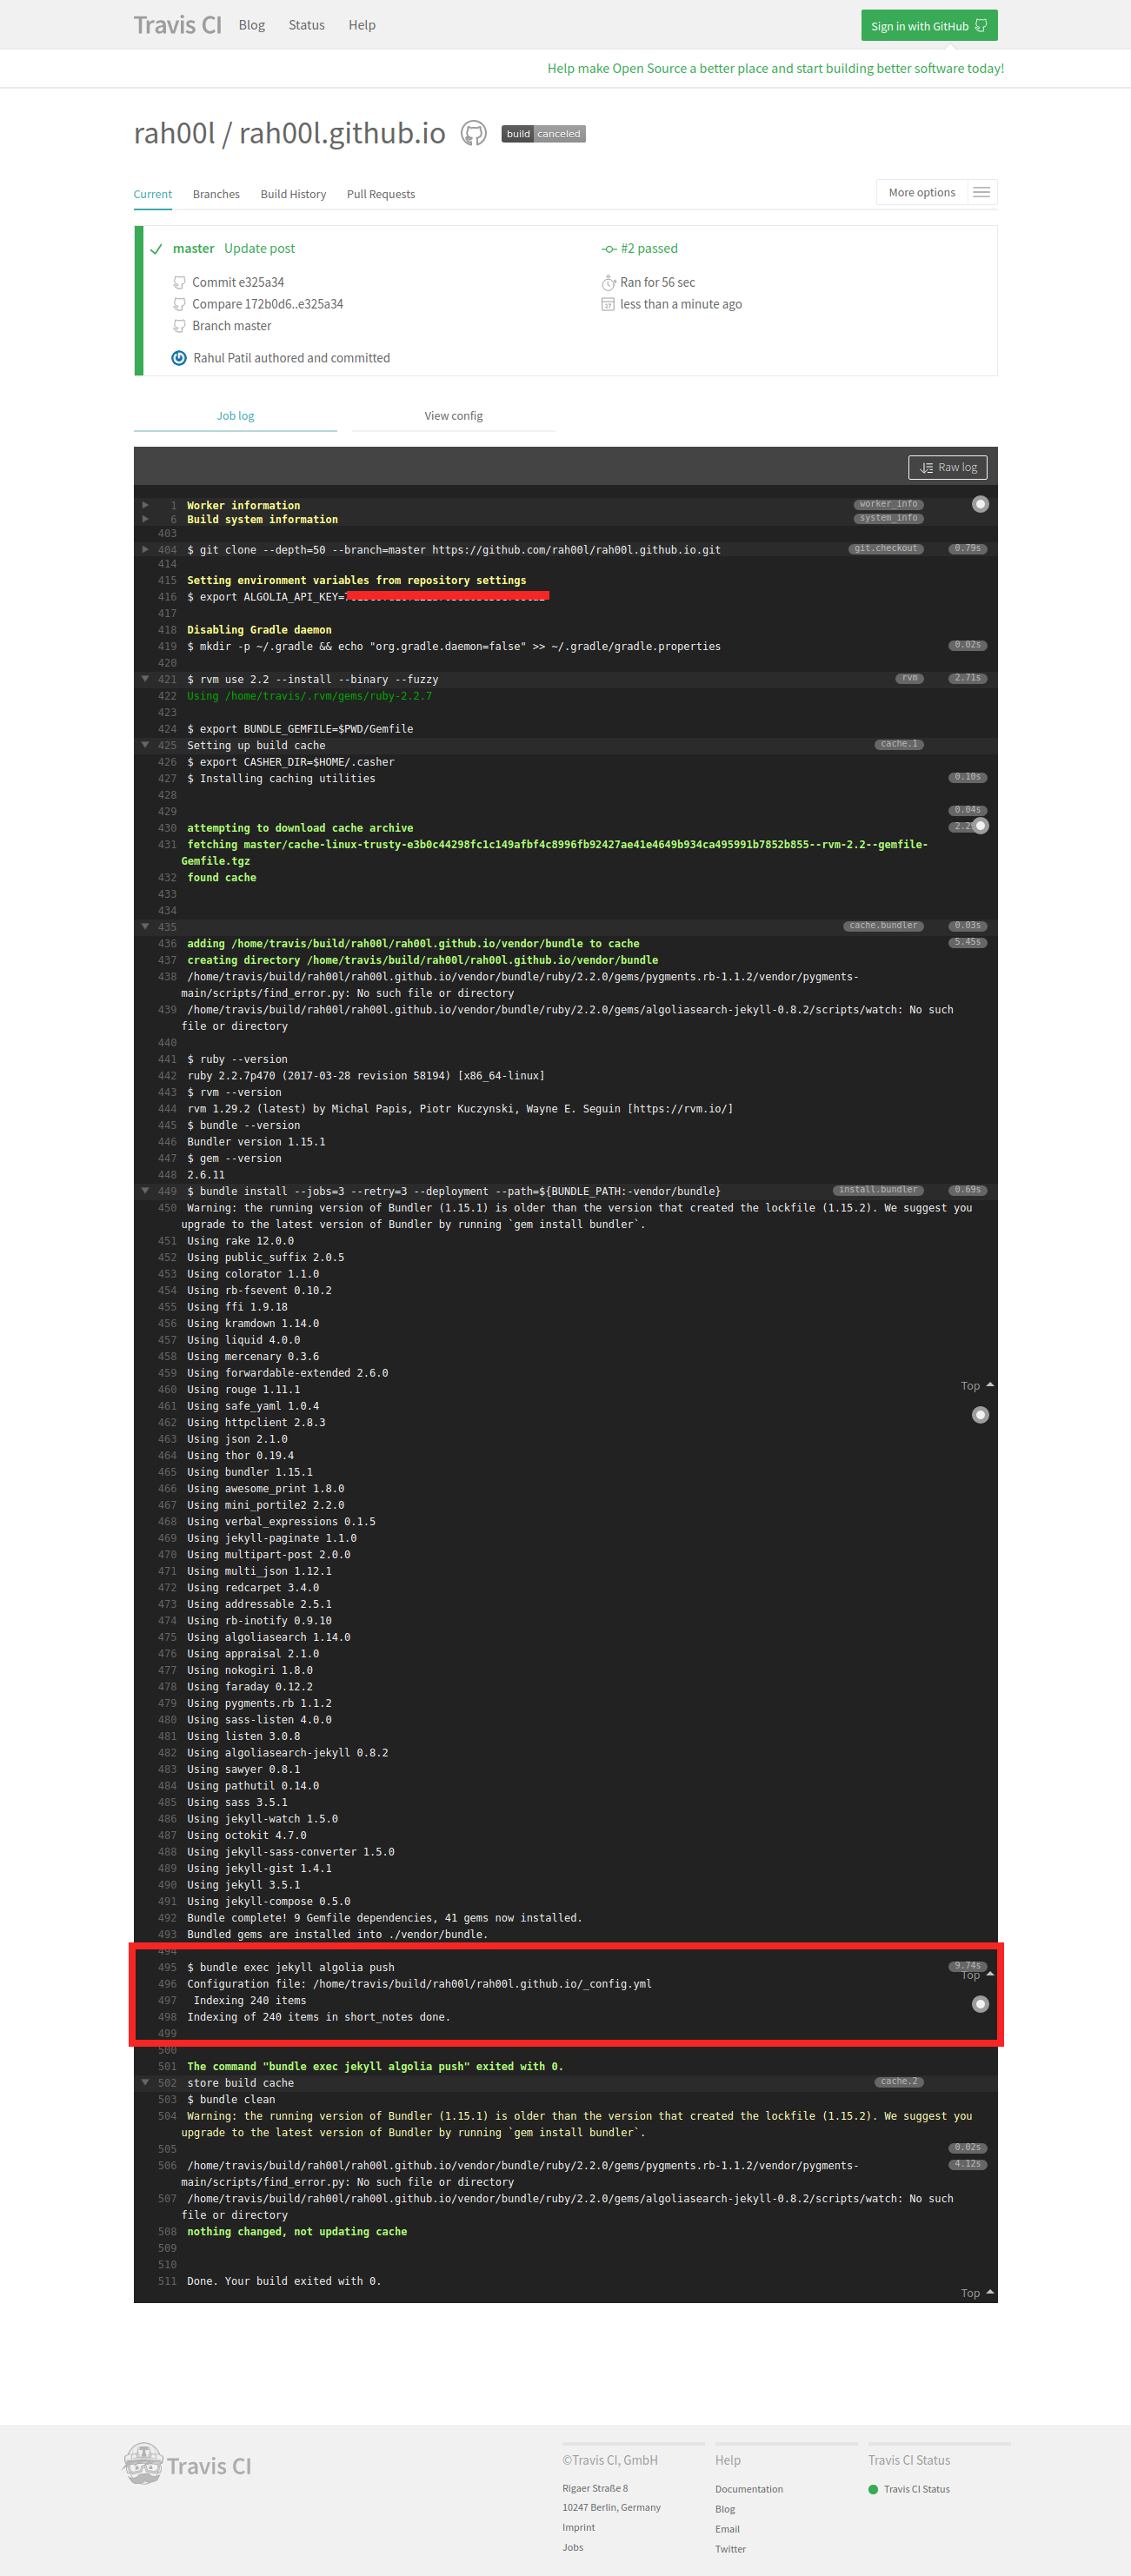
Once all configurations were done correctly, a commit push after enabling Travis, and it will catch the event and trigger your indexing for you.
After implementation of `Algolia Jekyll Plugin’, the search functionality will look like,
